The following example applies to alerts of the type "Alert Trigger Measured Values". More details on the process for the other types of alert trigger can be found here.
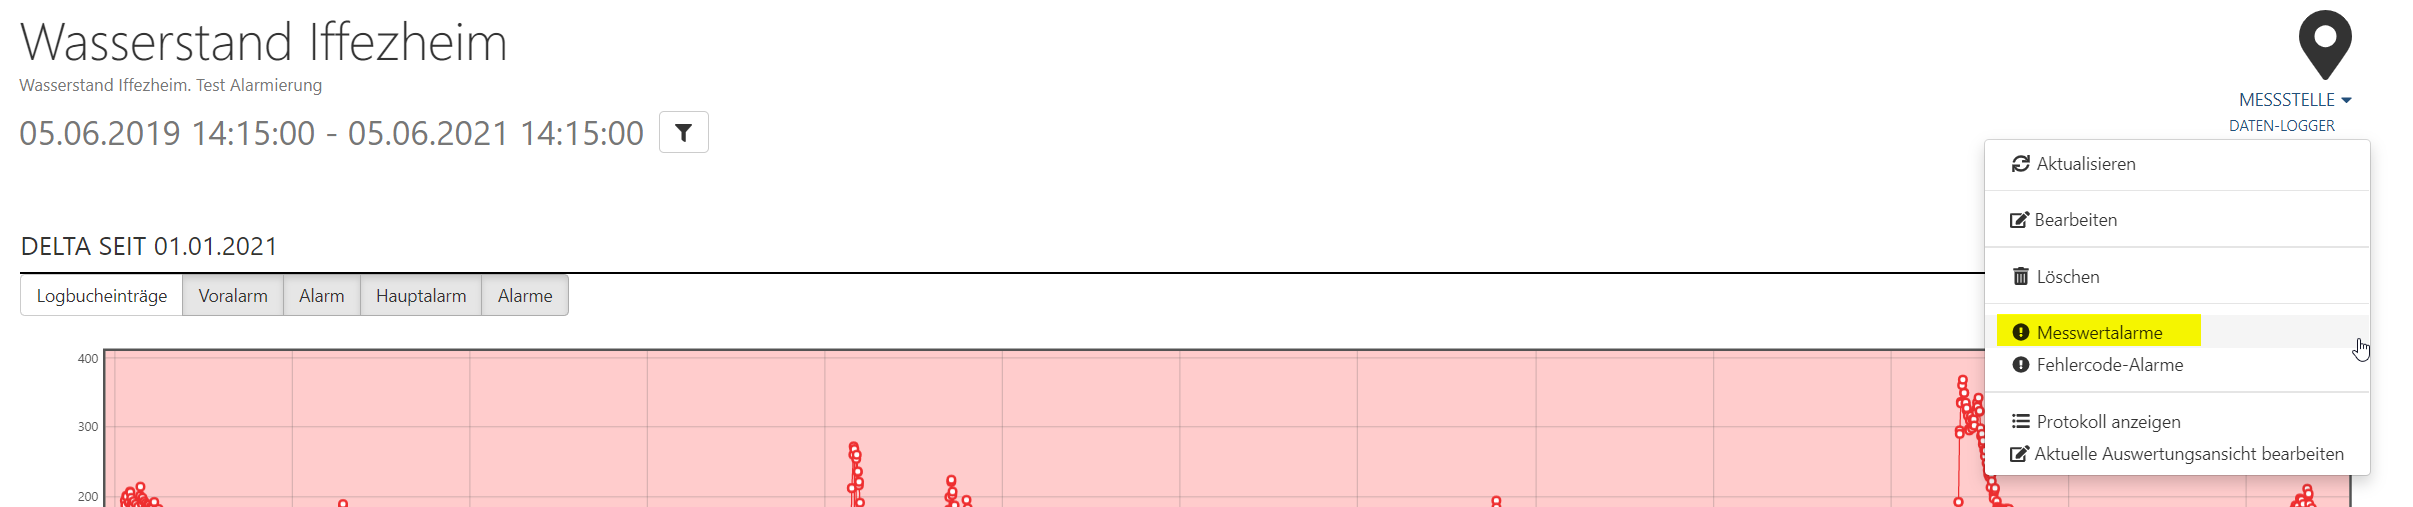
In the context menu of the measuring point that contains the alerts you wish to view, select the "Measured value alerts" point.
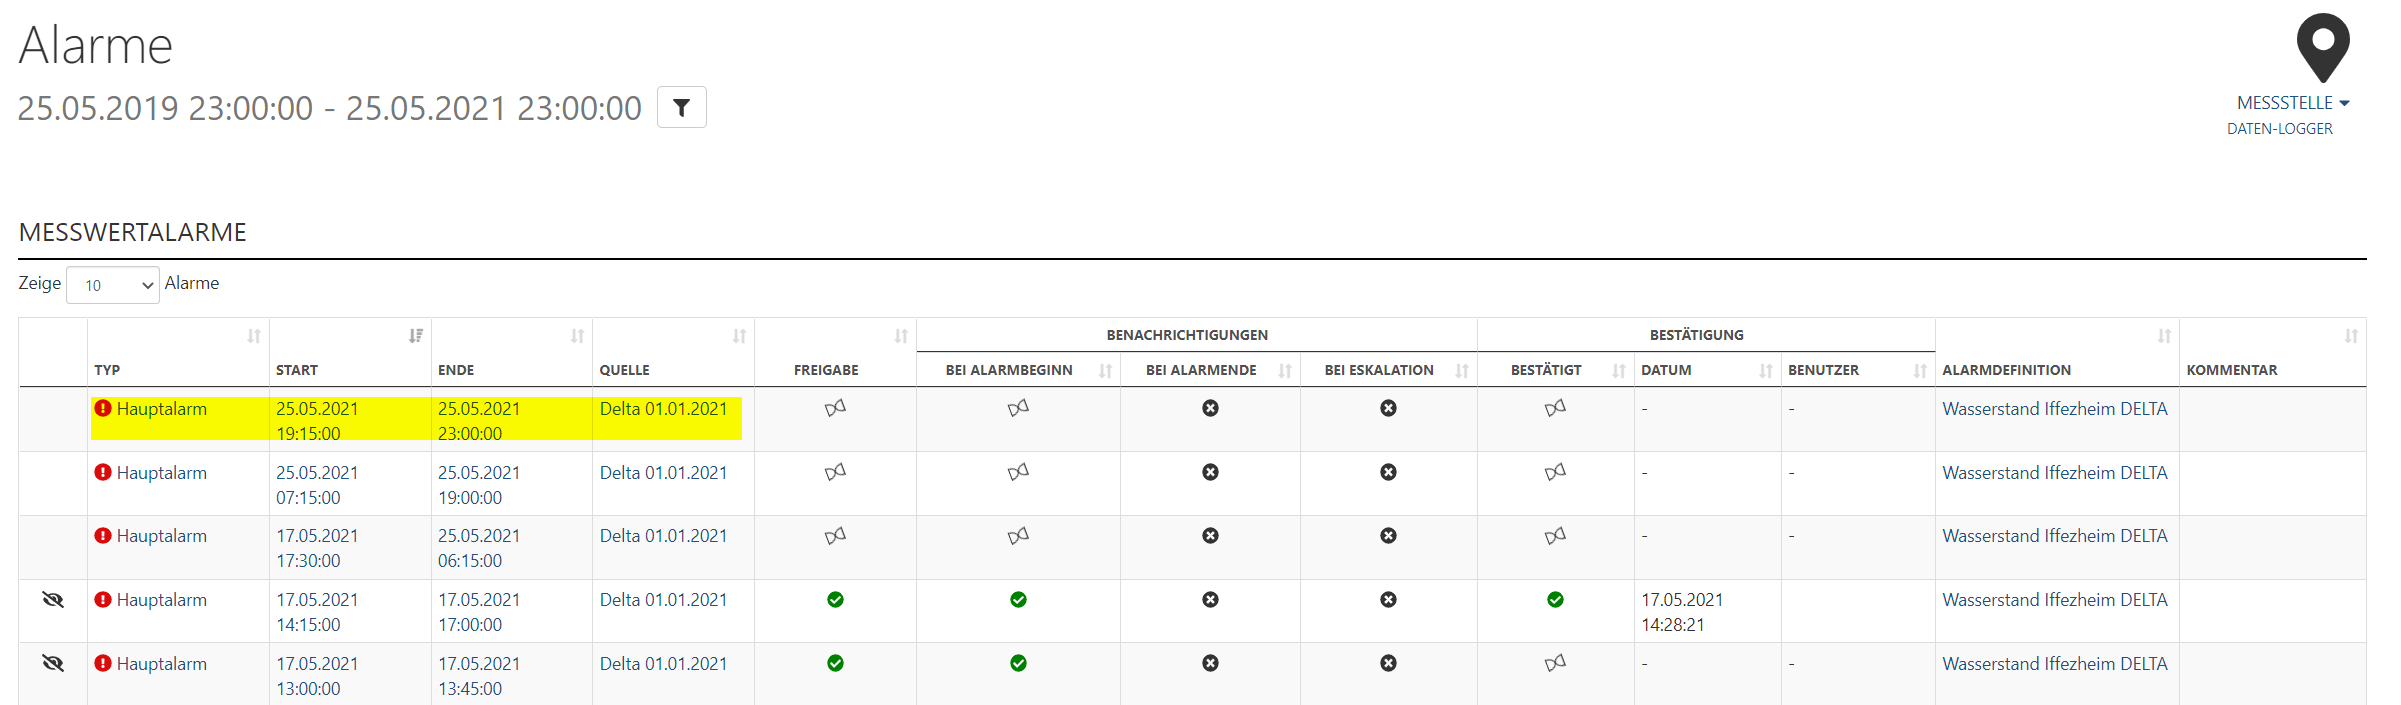
All triggered alerts are now displayed in the alert table.
A sand-timer symbol ( ) shows that the release or confirmation has not yet occurred.
Confirmed alerts also contain the information as to when and by whom the confirmation occurred.
Alerts with the eye symbol () are hidden. They are therefore not shown in overviews.
Clicking on the values in the "Type", "Start" or "End" columns opens a detail view of the respective alert.
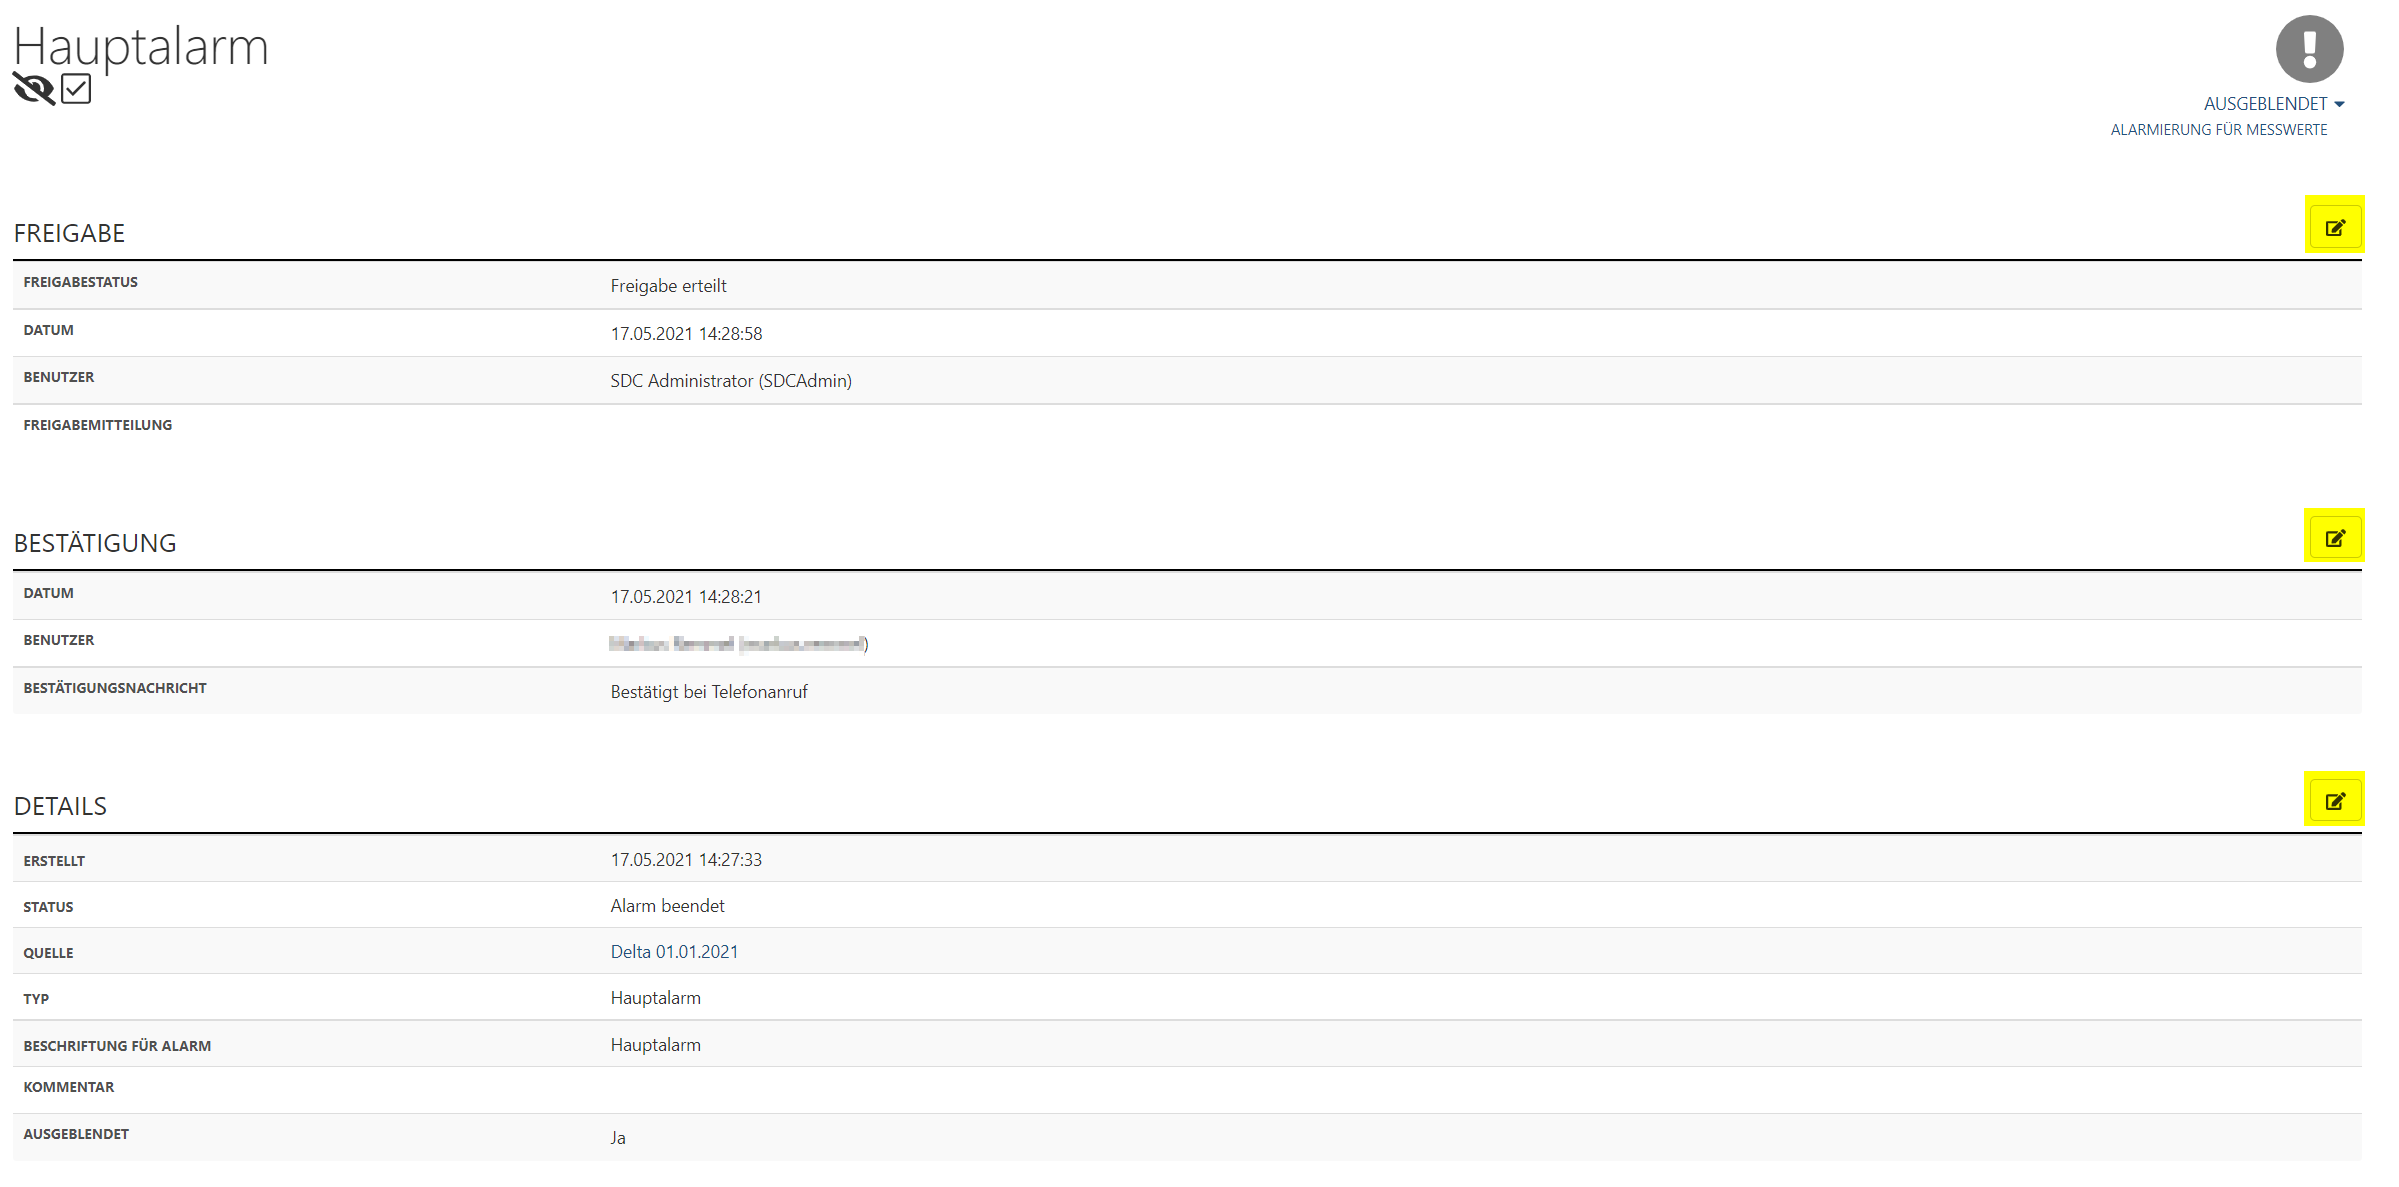
In the Detail view, you will find detailed information related to the individual alert.
If an alert still requires release or confirmation, this can be done in this view. More information on this can be found in the next section.
By clicking on the various Edit icons, you can make changes to various settings. You can either change the release or confirmation status, or hide an alert.
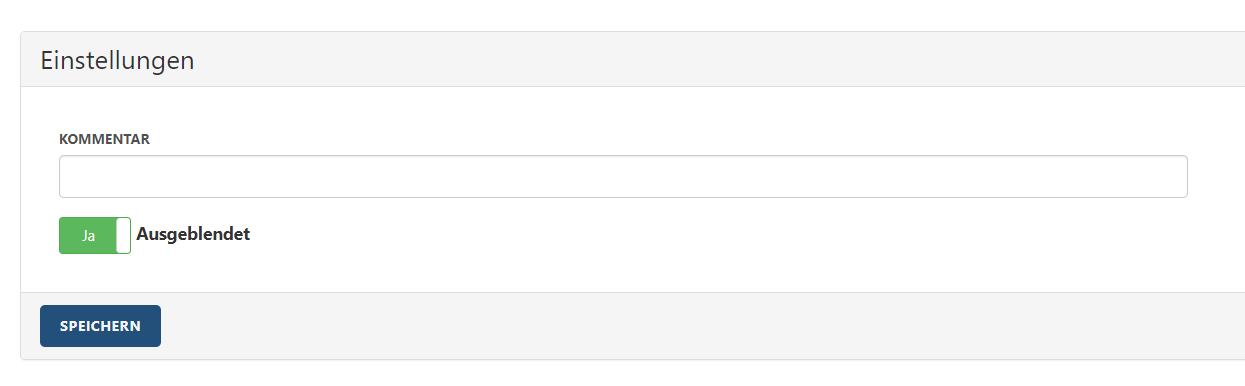
To hide an alert, click on the Edit symbol beside "Details" (or via the corresponding entry in the context menu). The switch next to "Hidden" allows you to either hide or display the measuring point (switch set to "Yes" = alert is hidden).
If necessary, a comment can also be added to the alert here. This will then be displayed in the alert overview table.
Clicking on "Save" saves everything and you are directed back to the overview.
Confirm/Release Triggered Alerts
Click on the value in the "Type", "Start" or "End" column of the alert that requires confirmation/release (identifiable by the sand-timer symbol) in order to reach the Detail view.
Release: The "Release Status" field is found under the "Release" category. Click on the field and select "Release granted". There is also the option to add a comment as a "Release message".
Confirmation: In the "Confirmation" category there is first of all the option to enter a comment as a "Confirmation message". Clicking on "Confirm" confirms the alert.
JavaScript errors detected
Please note, these errors can depend on your browser setup.
If this problem persists, please contact our support.