How do I use an evaluation view in a report?
To create a report, a report template is first required.
All the necessary information about creating and managing report templates can be found here.
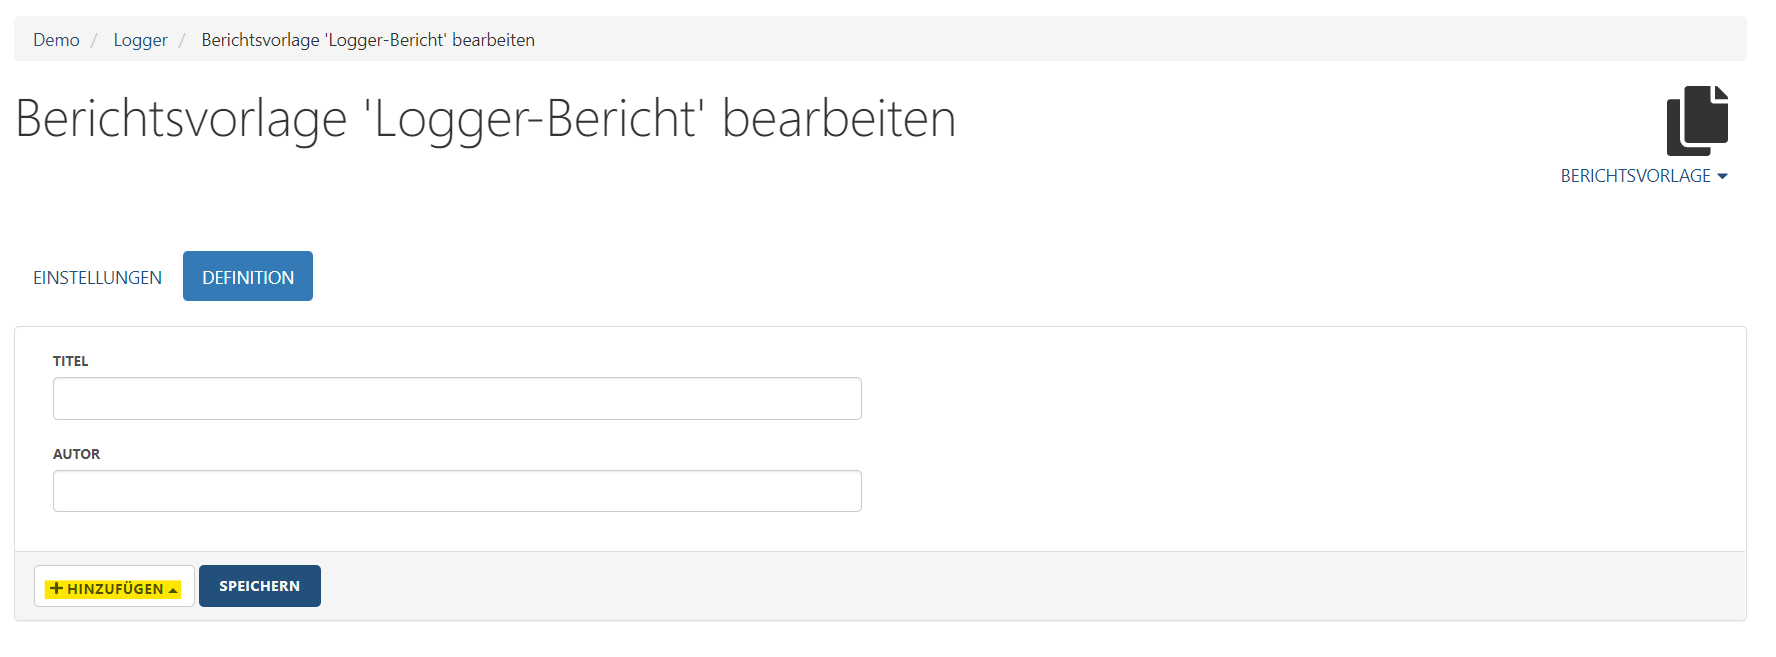
A new report template contains two tabs: “Properties” and “Definition”.
The actual content of the report is set under “Definition”.
Open the “Definition” tab of the report template. First enter a title for the report template under “Title” and if necessary the author” in the “Author” text field. Then click on the “Add” button.
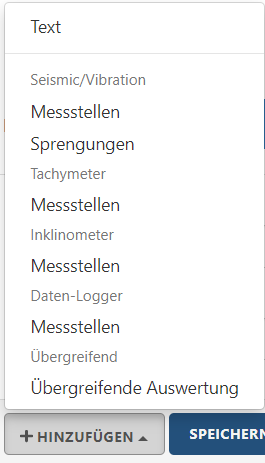
Now use the list to select the measuring point type to which the template should be added.
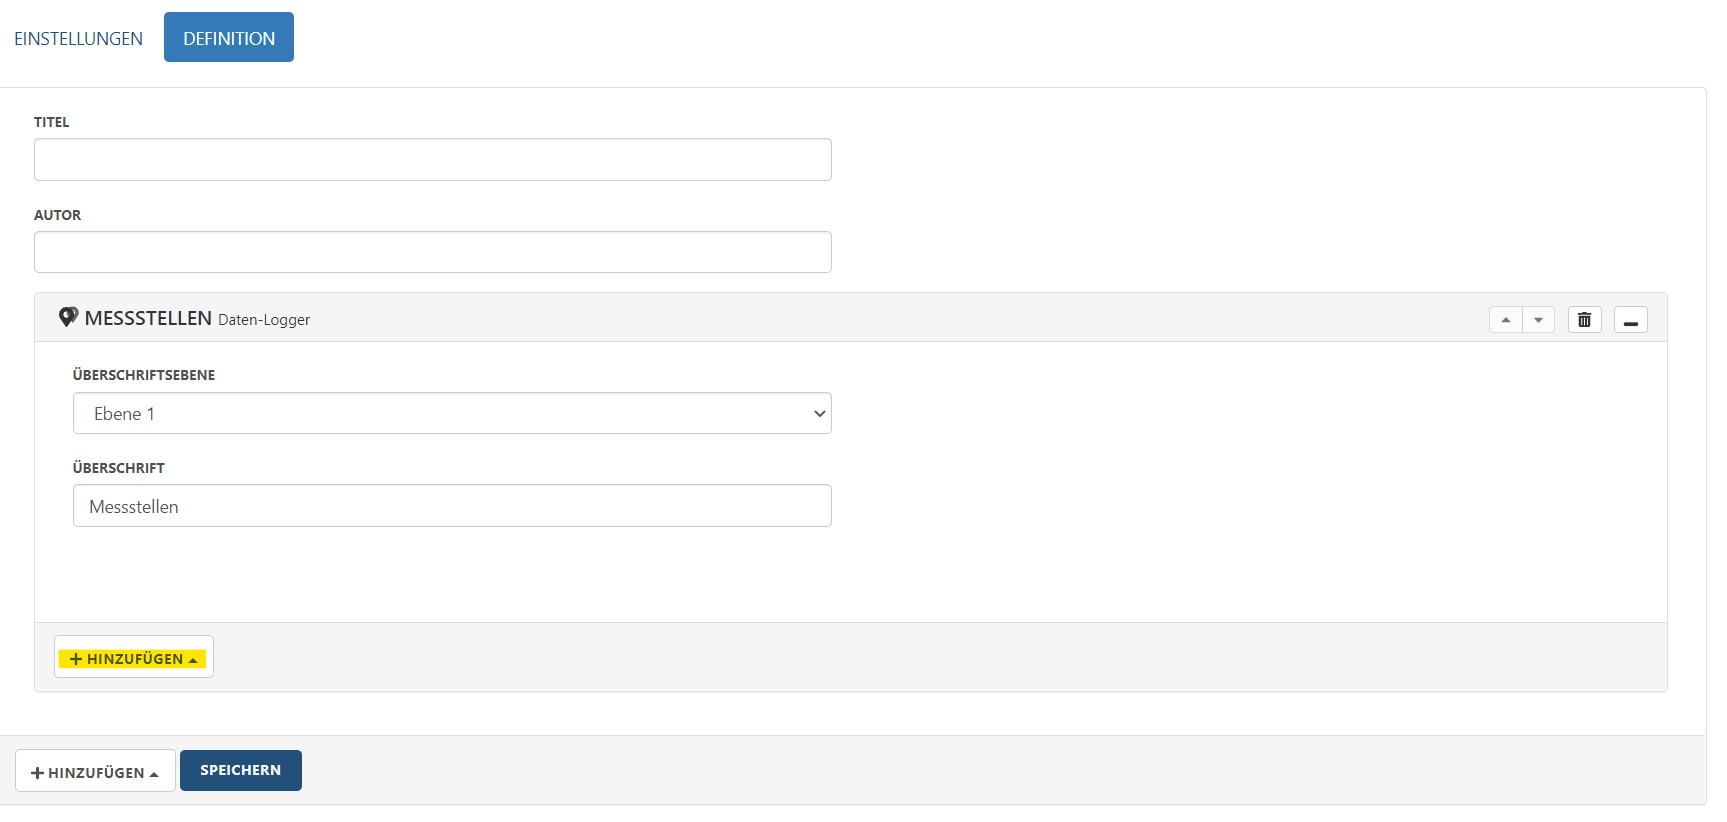
Using the fields that now appear, the created measuring point area can be given a header. The two fields are:
Header level:
Dropdown menu to set how the header is formatted according to the document template.
”Level 1” of the text formatting corresponds to “Header 1” of the document template.Header:
This field can be used to enter the header text.
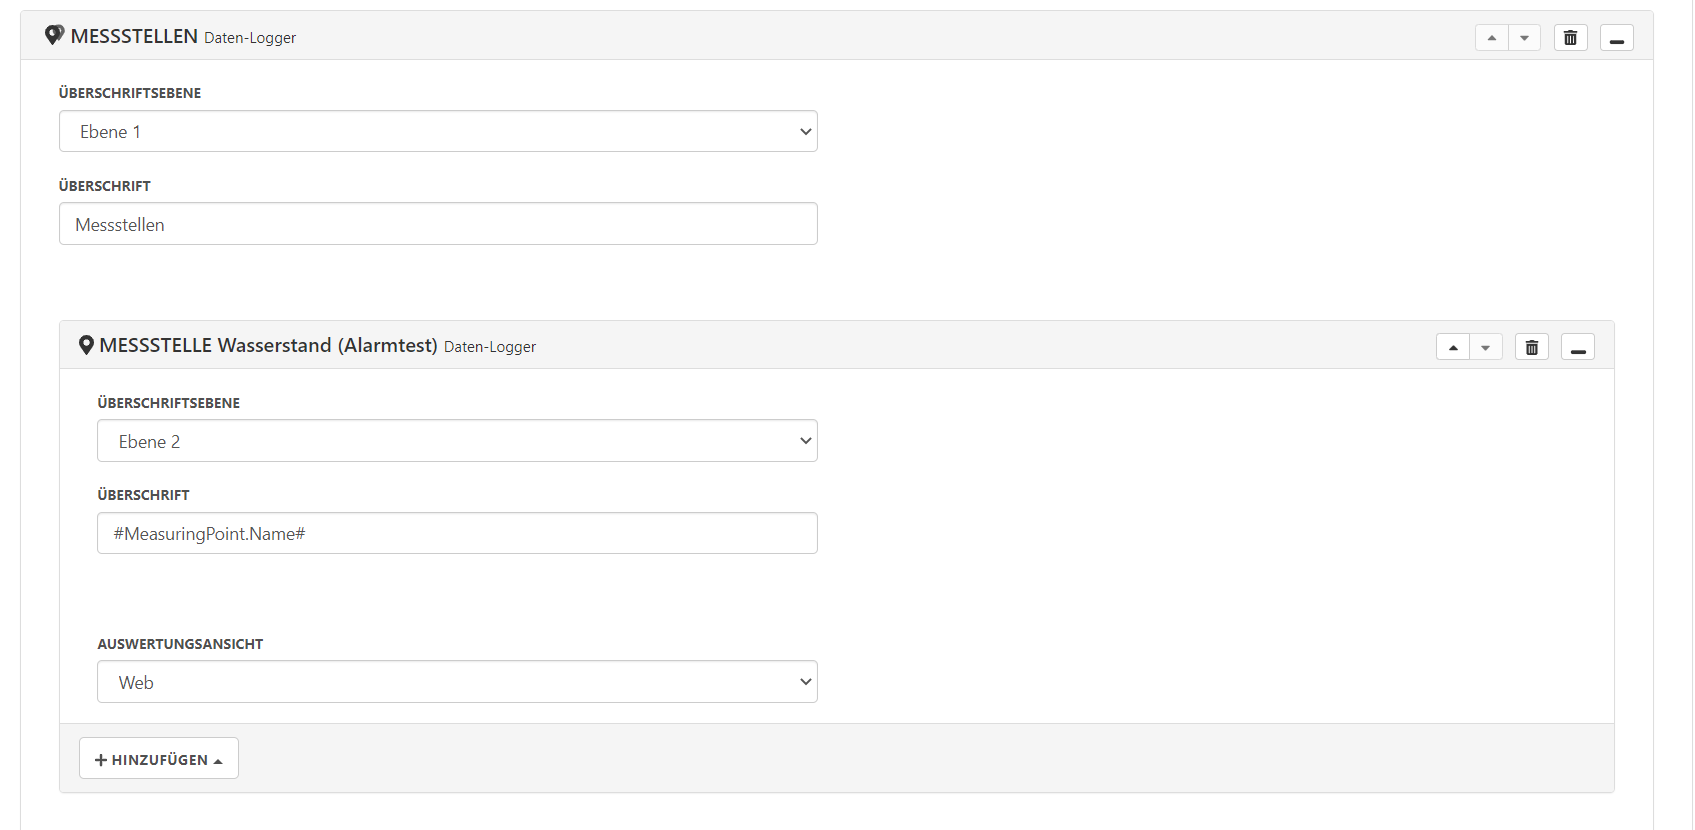
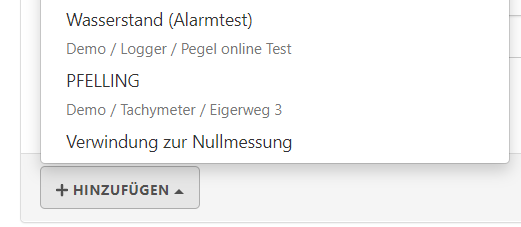
Click on “Add” in the area concerning the measuring point type to add a specific measuring point from the current project.
In the selection menu that now appears, all measuring points of the selected type that are available in the project are displayed. Click on the desired measuring point to select it.
The selected measuring point now appears in the report template. A name for the measuring point can be entered in the “Header” field. The placeholder #MeasuringPoint.Name# can be used to automatically add the name of the measuring point as a header in the report.
The “Evaluation view” field is the central part of this block. Clicking on this field displays each measuring point evaluation view that can be used in reports. The desired view can be selected here. One advantage of the evaluation views is that you can check in advance how the measuring point will be displayed in the report. To do this, call up the corresponding measuring point in the browser and switch the view to the evaluation view used in the report.
Use the “Add” button directly beneath the individual measuring point to place free text below the measuring point.